To create your first return:
-
Create a test order in Shopify using your own details and mark it as Paid. If you are not sure how to do this, see our Creating a test order in Shopify help guide.
-
Open ZigZag Returns and Exchanges application.

-
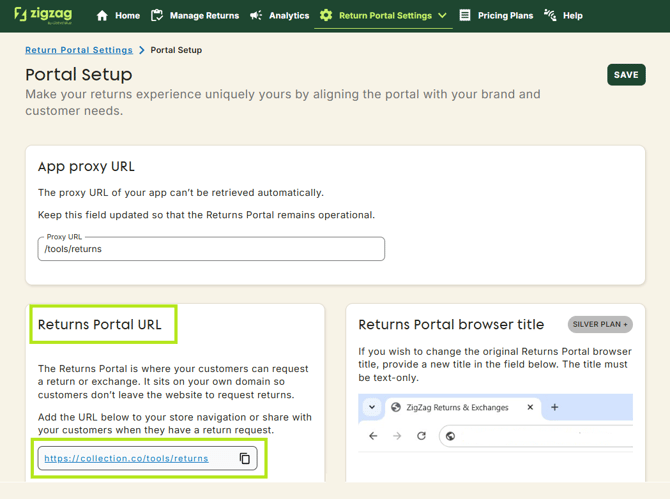
In the navigation bar, select Portal Setup and find Returns Portal URL, click the link.
-
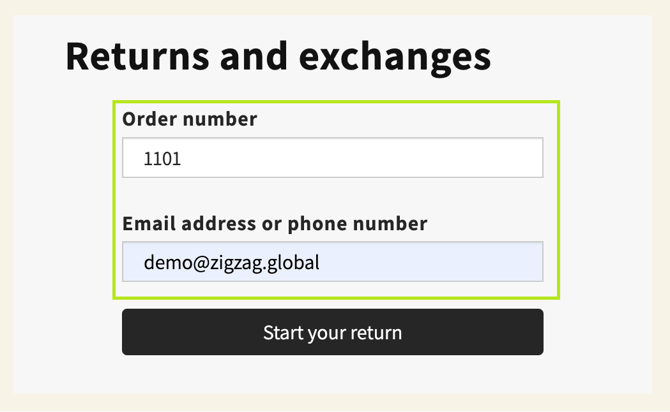
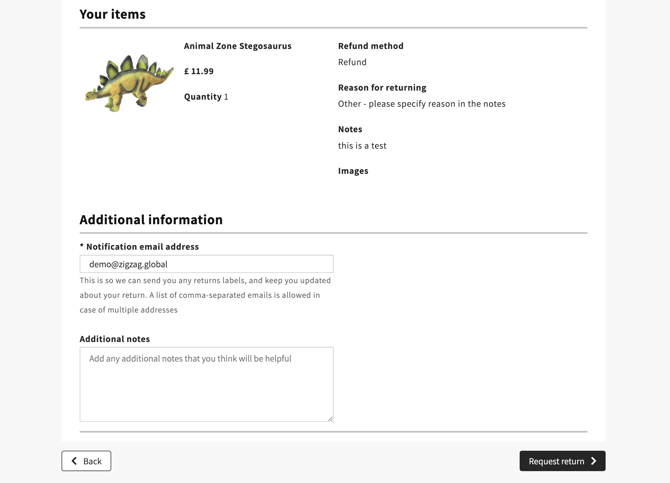
Enter your order number and email address or phone number for your test order and click Start your return button.
-
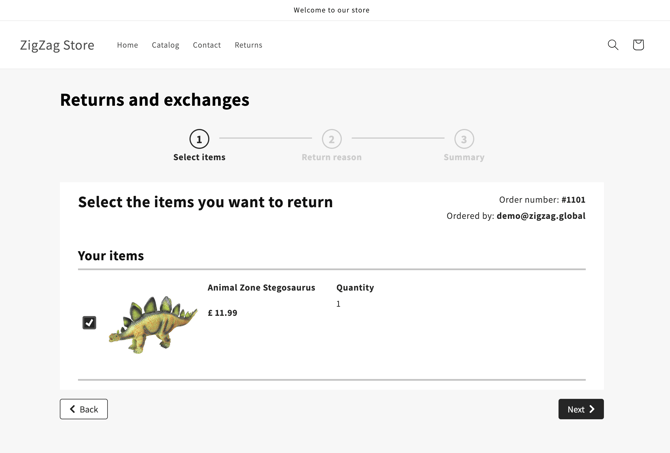
Select the item you would like to return and the Quantity if necessary.
-
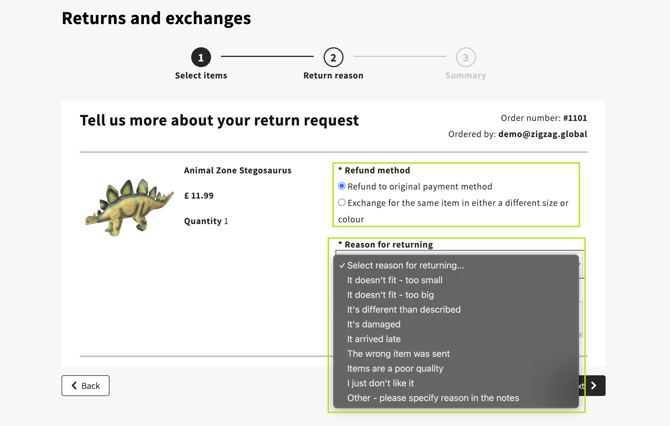
Select the Refund method and Reason for returning and then select Next.
-
As a store owner, you will receive an email notification to confirm your store has received the return request. Notification will be also sent to customer's email address. You can manage notifications sent to your customers via Email Editors page.
-
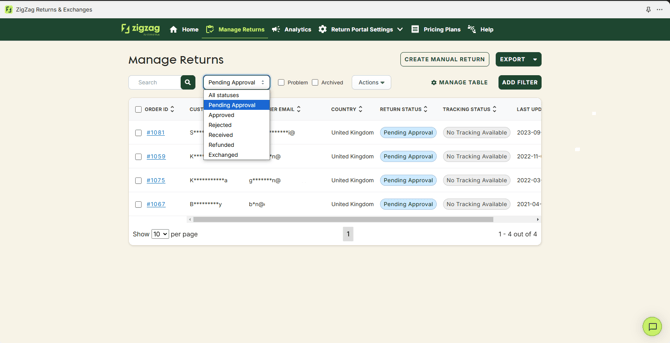
If you haven't set up auto-approve refunds and exchanges, you need to approve the return you have received. To do this, in the navigation bar, select Manage returns and then select the order ID for the return.
-
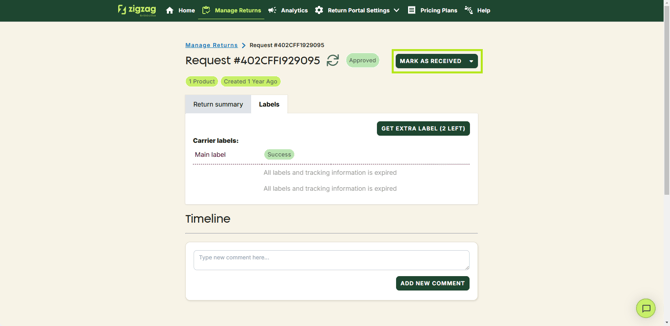
Open your return which is in a Pending Approval state and click the Approve button.
Additional options are available from the Approve button dropdown menu. -
Your customer (you, in this example) will now receive an email to confirm that the return has been approved and a bit later an email with return label attached (if you set up labels generation or upload own label for return). Then the customer will post the parcel back.
-
When you receive the parcel, click the Mark as Received button. The customer will again be notified.
-
Refund the order. This needs to be done in the standard way, our application does not perform the refund for you. When the order has been refunded, click the Mark as Refunded button (if it wasn't done automatically).

-
Finally, you can archive the return from the dropdown.


Well done! That's your first processed return.