![MasterLogo_DarkGreenZag_NoBackground.png]](https://my.zigzag.global/hs-fs/hubfs/MasterLogo_DarkGreenZag_NoBackground.png?height=30&name=MasterLogo_DarkGreenZag_NoBackground.png)
We've upgraded how label costs are handled, instead of paying upfront and waiting on refunds for labels you never use, you now pay only for what you actually use. No more cash sitting in limbo on unused labels.
To keep your carrier labels running, you'll need to add your payment details and confirm a couple of settings. Takes about two minutes.
How to configure it
- Confirm your warehouse details
Go to Return Portal Settings → Warehouse Details and check your warehouse is correct with all mandatory fields filled in. - Add your payment method
Go to Return Portal Settings → Carrier & Labels and scroll to the bottom. Add your payment details, then refresh the page once it's gone through. - Map your journeys
Right underneath, map your journeys to get everything routing correctly.
That's it, you're live with the new setup, and your labels will only be charged if they are used.
What to do now:
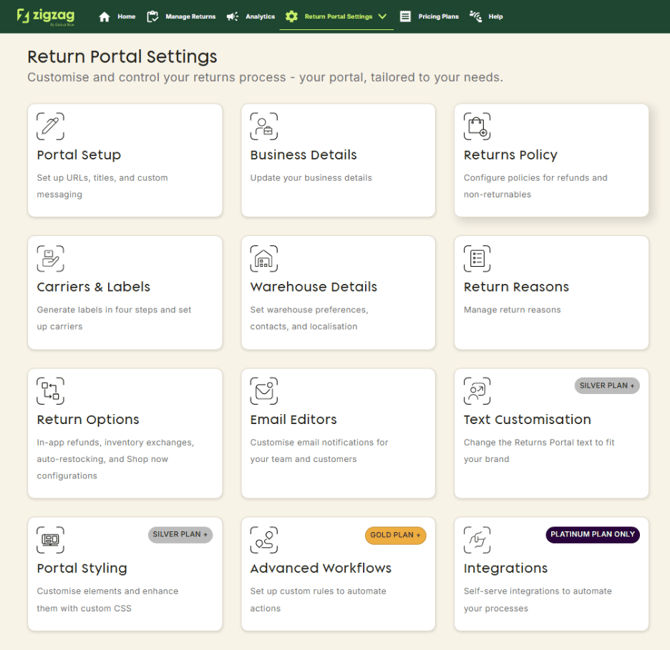
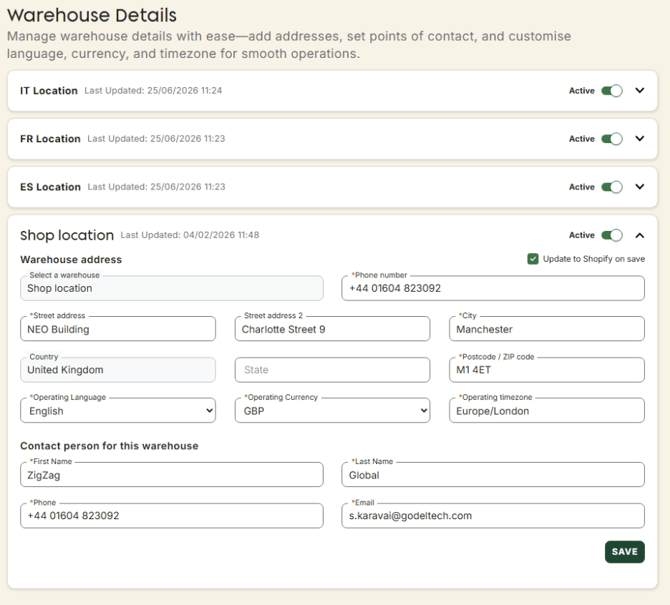
1. .Navigate on returns portal settings to Warehouse Details
2. There make sure your warehouses are all set up, if some are missing add it on your Shopify locations
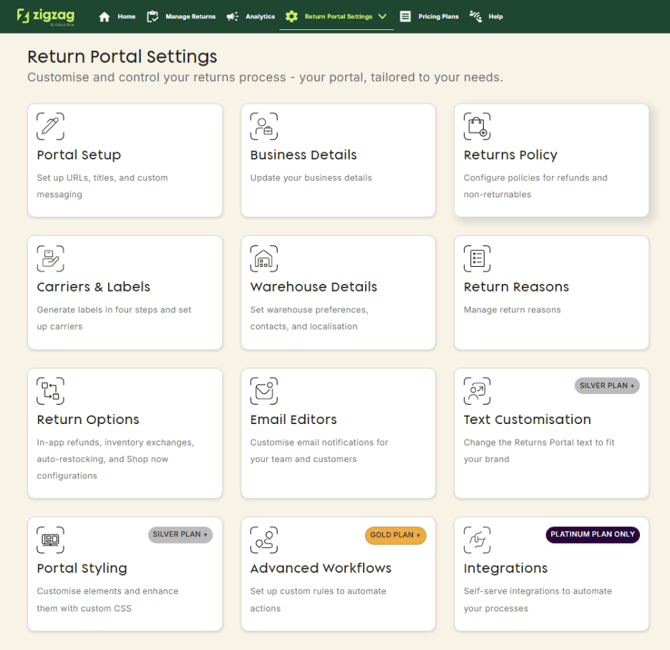
3. Then navigate on returns portal settings to carriers & labels
4. On Payment method click on "add payment method"
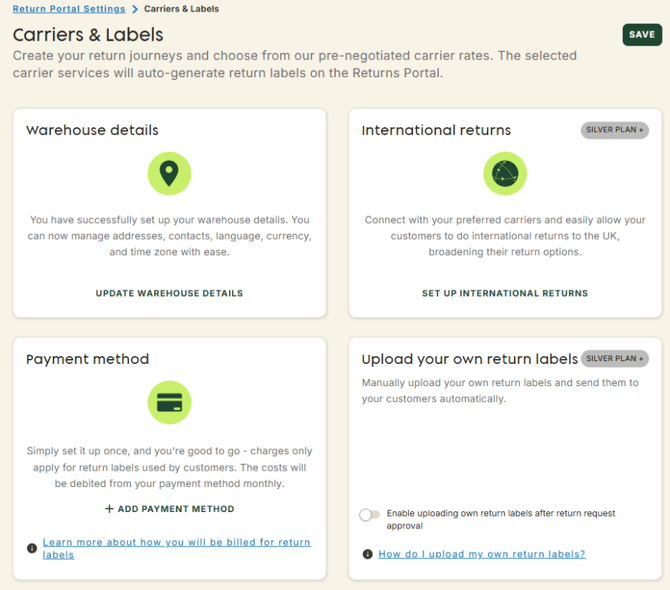
5.Insert your credit card details
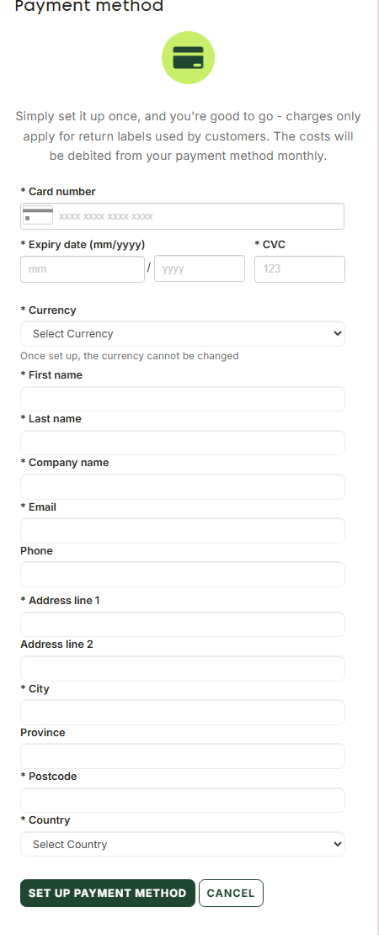
6.Once verified you are ready to set up your journeys
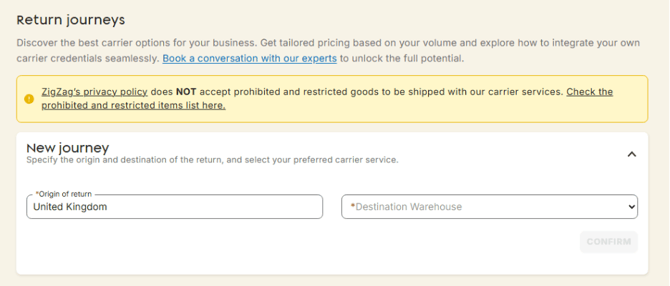
7.Select a warehouse you want the label to ship to
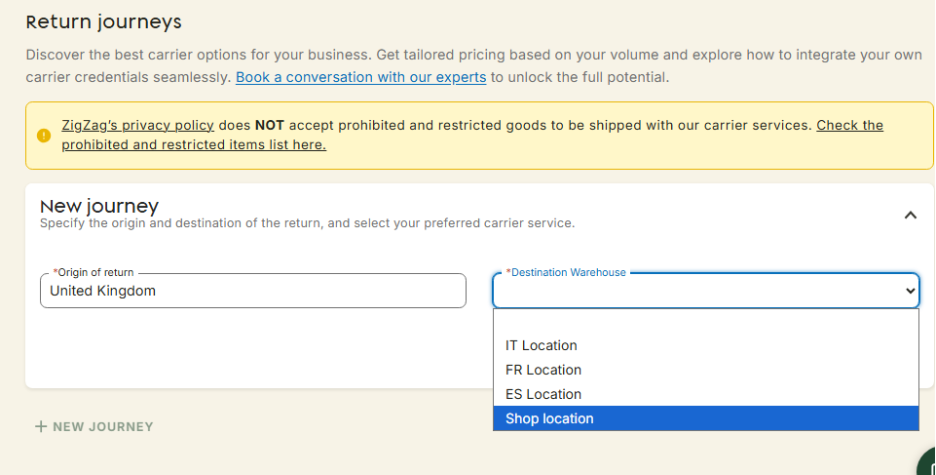
8. Choose the carriers you want to use
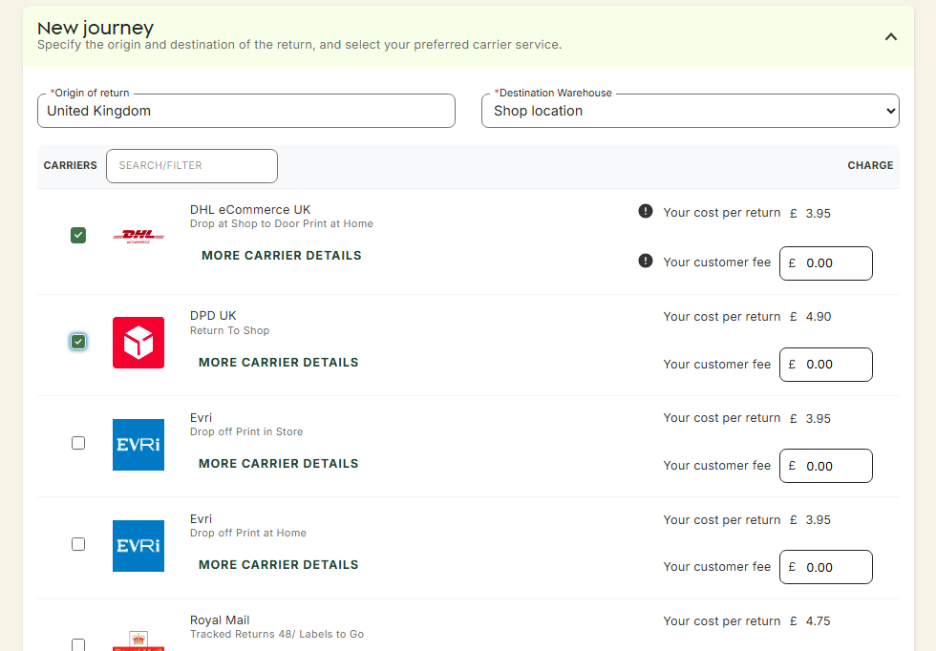
9. Confirm that action
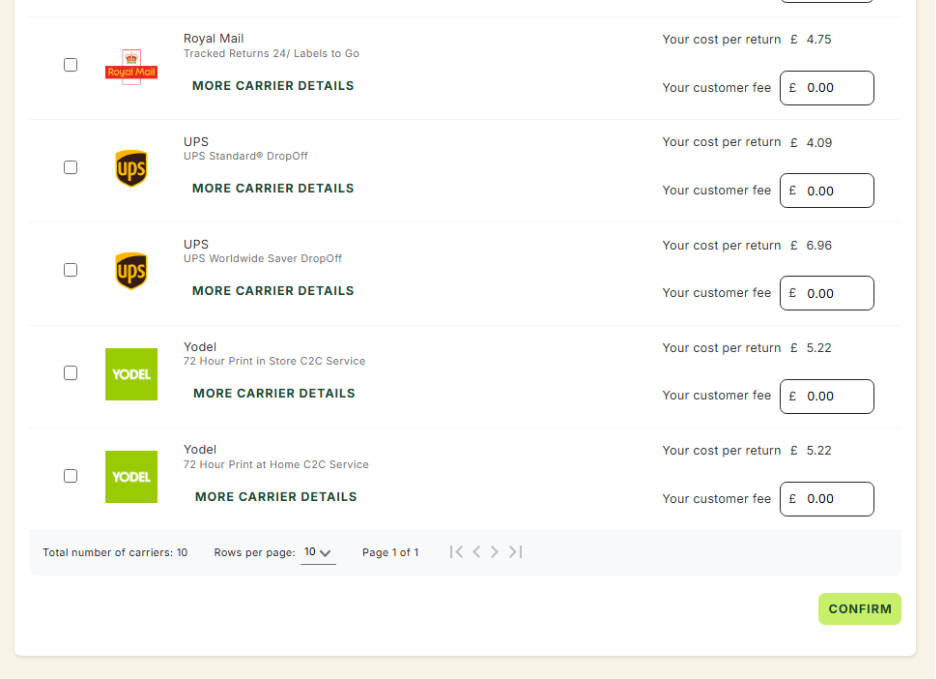
10. And Save
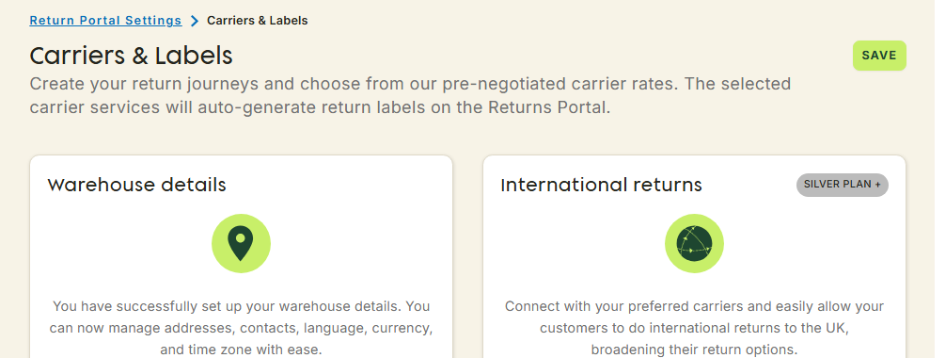
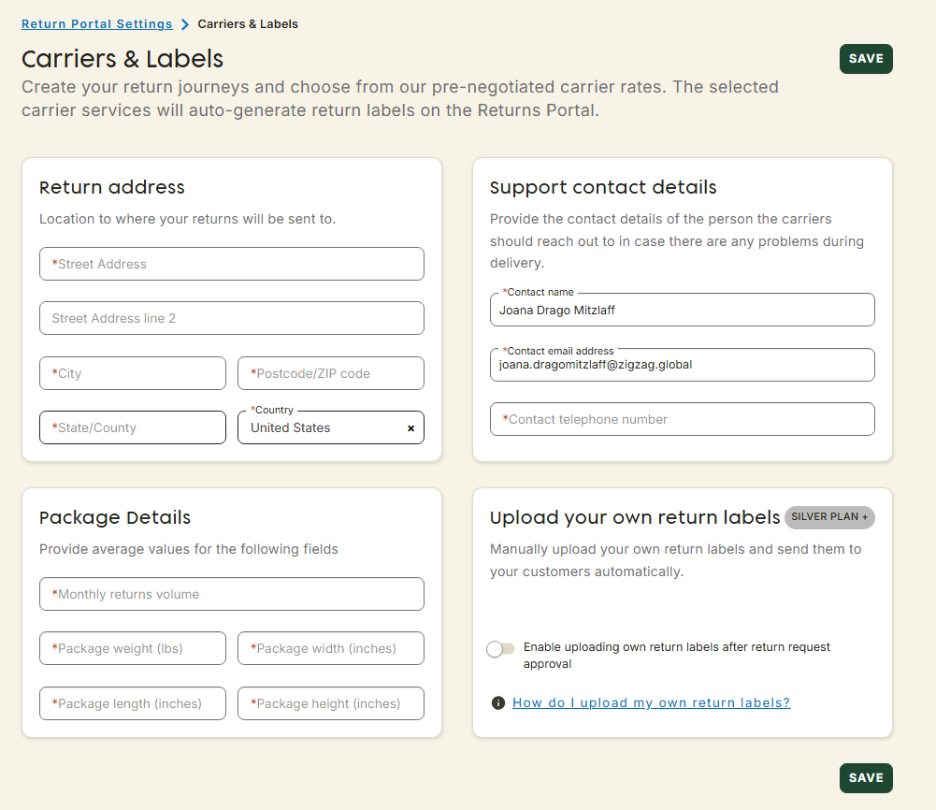
How Carriers & Labels used to look like: